CHAPTER 24 - Link Parse (deprecated)
Parse will end on January 28, 2017, and this turtorial will not be suggested to read, see official website's blog.
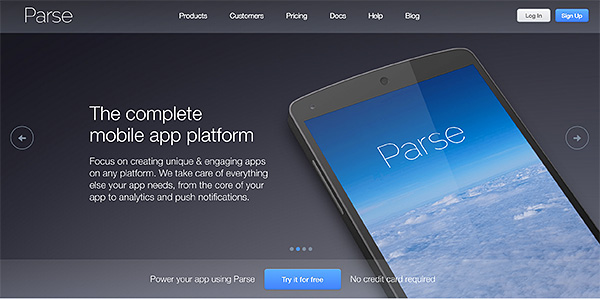
In the previous chapter, we introduced Firebase. Certainly, this chapter should be about linking to the popular cloud database- Parse. Since we are going to link to Parse, we must show you Parse’s registration process. Let us go to Parse's official website first (https://parse.com/).
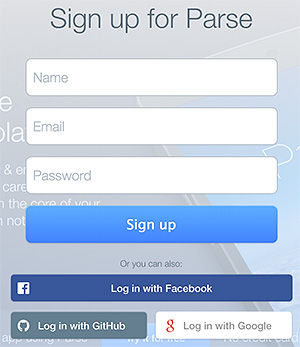
Once you are at the site, you should sign up.
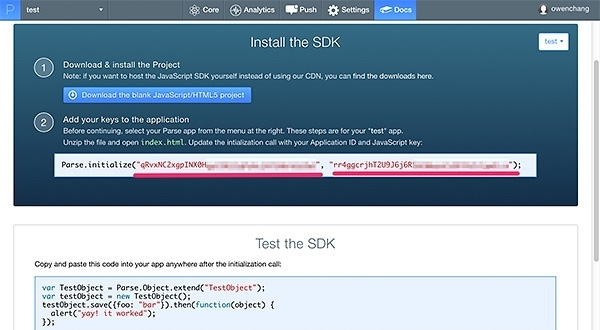
After you have successfully signed up, Parse will prompt you to Create App. I built an app called test here. (This app is not an app that we would run on cell phones. Don't mix them up.) After your app is created, you will receive a piece of code including two strings consisting of random numbers and letters. These two strings are the Application ID and JavaScript Key.
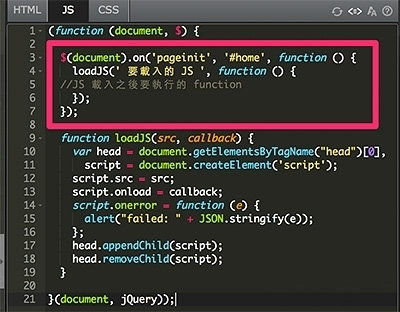
With this piece of code and the test code below, we are ready to try it out with EZoApp. Before we proceed, since EZoApp does not have built-in Parse.js (same as with Firebase), we can copy the program code below and paste it in; just add the code for the function to be executed when the JS is loaded.
(function (document, $) {

  $(document).on('pageinit', '#home', function () {
    loadJS('JS source url', function () {
      // Function to be executed after JS is loaded
    });
  });

  function loadJS(src, callback) {
    var head = document.getElementsByTagName("head")[0],
      script = document.createElement('script');
    script.src = src;
    script.onload = callback;
    script.onerror = function (e) {
      alert("failed: " + JSON.stringify(e));
    };
    head.appendChild(script);
    head.removeChild(script);
  }

}(document, jQuery));
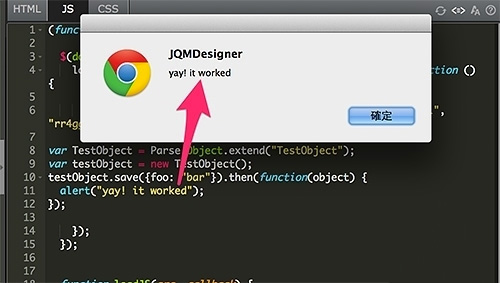
Then, follow the procedures above and put the parse.js in; also, enter your key and test code. Preview it and see whether you get a popup window telling you that it worked! (Example, please replace the key with your own: http://jqmdesigner.appspot.com/designer.html#&ref=5166865982685184)
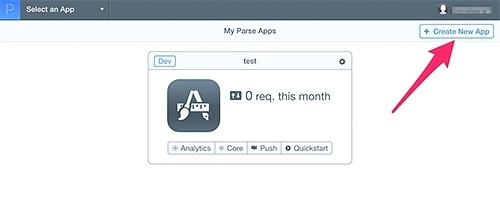
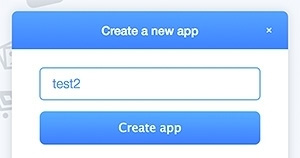
Of course, if this is not your first time using Parse, you can create your new app by selecting "Start using the Dashboard" and clicking on "Create New App" on the upper-right corner.
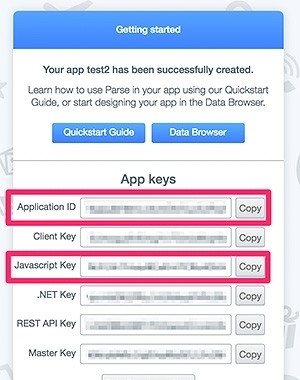
Press "Create app" and it will show you several keys. You only need these two: Application ID and JavaScript Key.
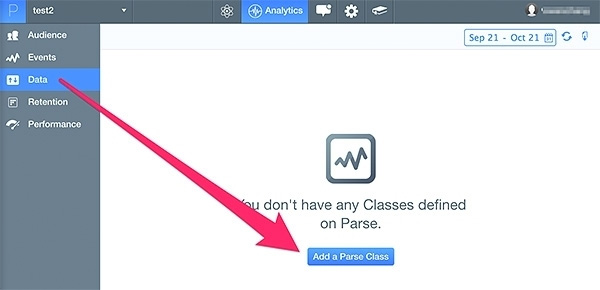
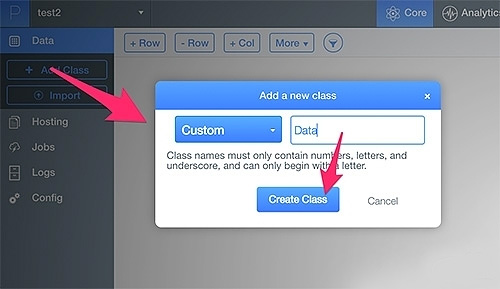
Click "Data", then "Add a Parse Class."
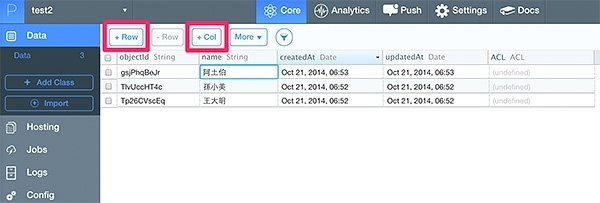
"+ Col" can add new columns; then add new rows using "+ Row". Dates and ids will be generated automatically.
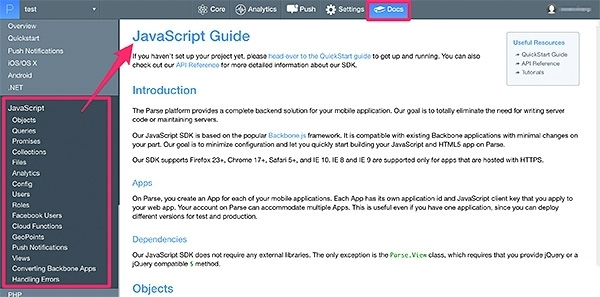
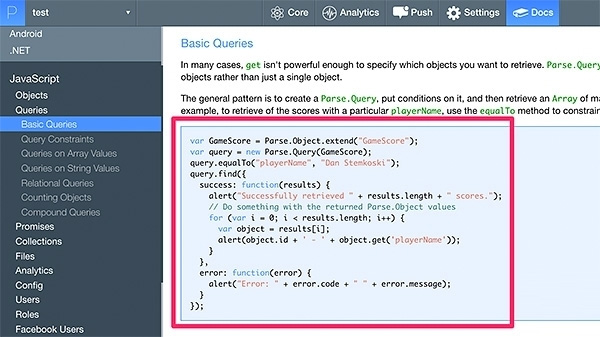
After this is finished, we can start using the API provided by Parse to read these data. Let us read the Parse documentation first.
Following the documentation, you should be able to successfully read one of the records. Using my own test as an example, you should be able to read Siao-Mei Sun's (孫小美) record. (Example, please replace the key with your own: http://jqmdesigner.appspot.com/designer.html#&ref=5140690036064256)
$(document).on('pageinit', '#home', function () {
  loadJS('http://www.parsecdn.com/js/parse-1.3.0.min.js', function () {

    Parse.initialize(" Your Application ID", " Your JavaScript key");

    var Data = Parse.Object.extend("Data"),
      query = new Parse.Query(Data);
    query.equalTo("name", "孫小美");
    query.find({
      success: function (results) {
        console.log("Successfully retrieved " + results.length + " scores.");
        // Do something with the returned Parse.Object values
        for (var i = 0; i < results.length; i++) {
          var object = results[i];
          console.log(object.id + ' - ' + object.get('name'));
        }
      },
      error: function (error) {
        alert("Error: " + error.code + " " + error.message);
      }
    });

  });
});
Basically, the linking is accomplished with this step. The last step is to display the Parse data with components in EZoApp. Modify the code as shown below (Remember to add listview in the HTML):
$(document).on('pageinit', '#home', function () {
  loadJS('http://www.parsecdn.com/js/parse-1.3.0.min.js', function () {

    Parse.initialize(" 你的 Application ID", " 你的 Javascript key");

    var Data = Parse.Object.extend("Data"),
      query = new Parse.Query(Data);

    query.find().then(function (results) {
      $('#listview').empty();
      for (var i = 0; i < results.length; i++) {
        var obj = results[i],
          name = obj.get('name');
        $('#listview').append('<li>' + name + '</li>');
      }
      $('#listview').listview('refresh');
    });

  });
});
Now you can successfully link them! (Example, please replace the key with your own: http://jqmdesigner.appspot.com/designer.html#&ref=5123982613282816)
In fact, everyone who works with databases should be very interested in Parse, the cloud database. And Parse does benefit many frontend engineers. However, Parse's documentation is very rich. We have only introduced the fundamentals on how to use EZoApp to link to Parse's service. If you want to learn more details about Parse, please visit Parse's website! (https://parse.com/)
Continue reading CHAPTER 25 - Publish HTML and APK
Or Return to Table of Contents